
Managing Items
In this lesson, we’re going to take a look at how to manage your company’s items from the Admin Panel.
1
ITEMS
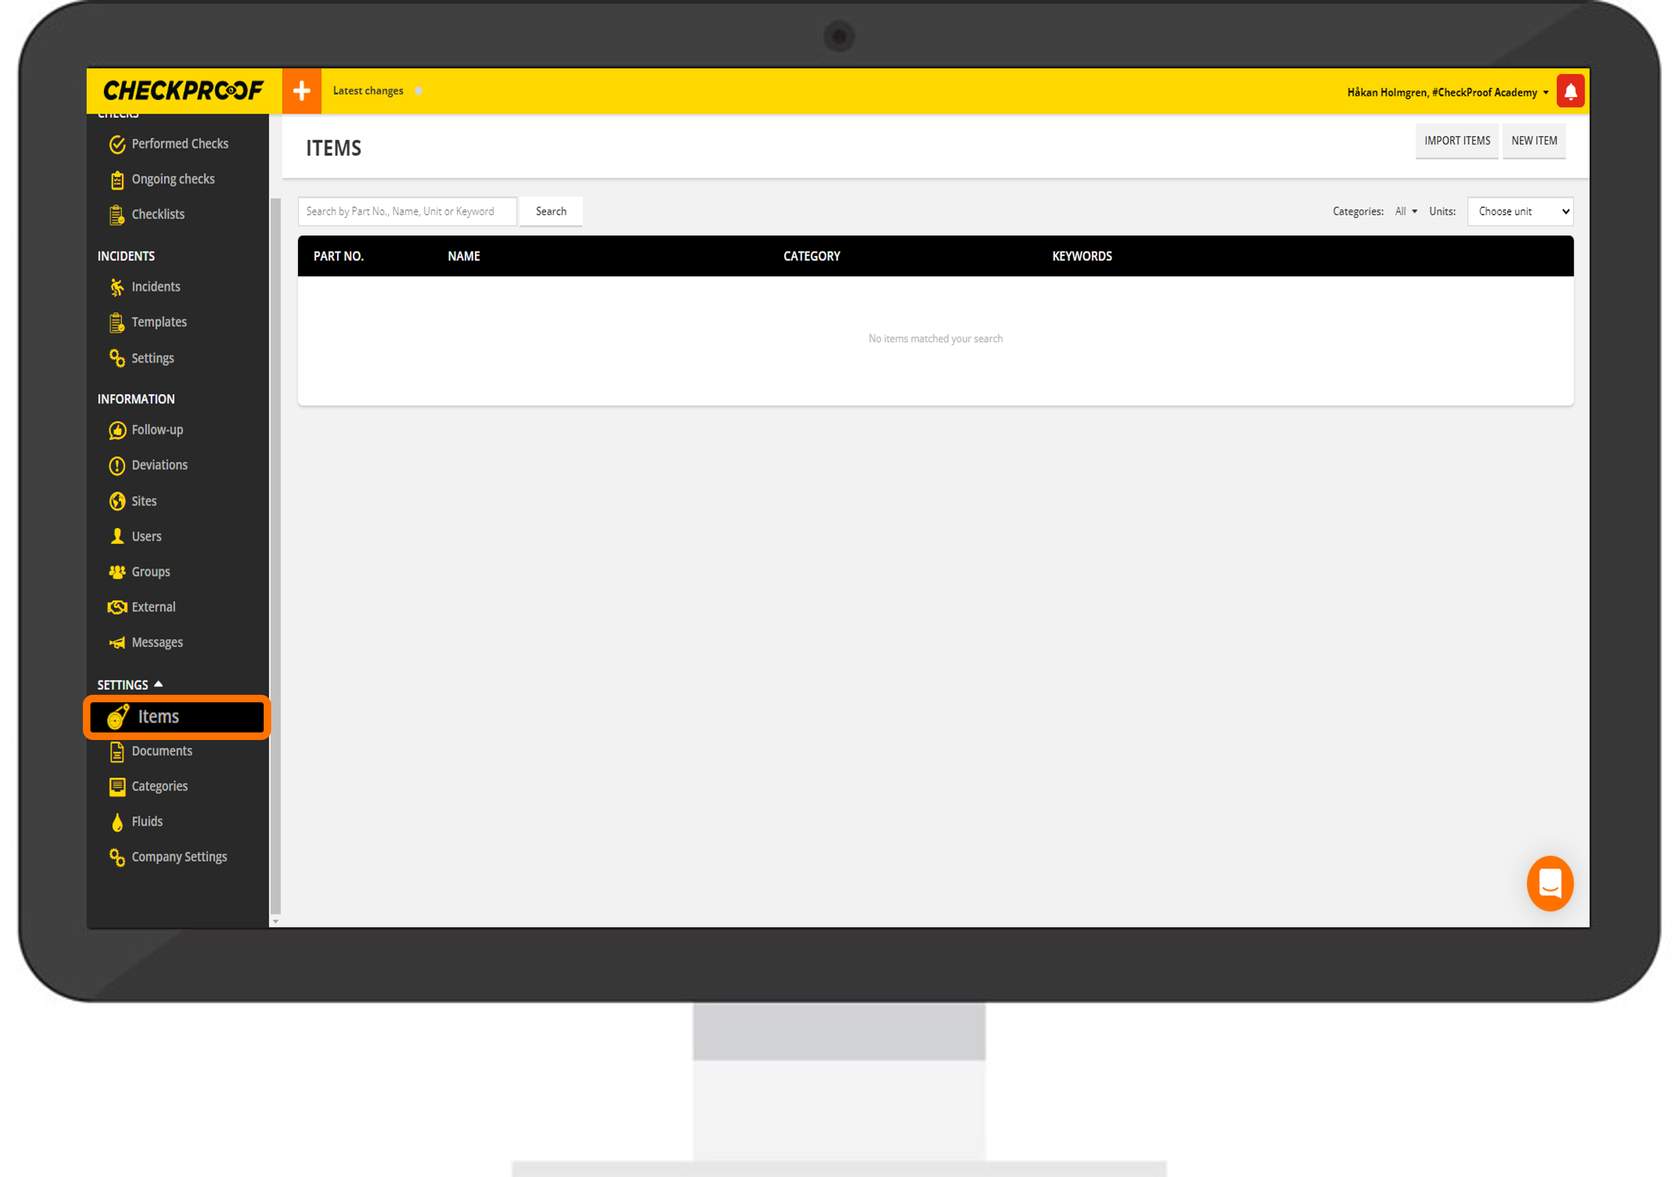
Scroll down and click on “Settings” in the side panel, and then click on “Items”.
2
IMPORT OR ADD MANUALLY
There are two ways to add an item. You can import items from an Excel file or add an item manually. Follow the processes below to learn how this is done.
Importing Items from an Excel Spreadsheet


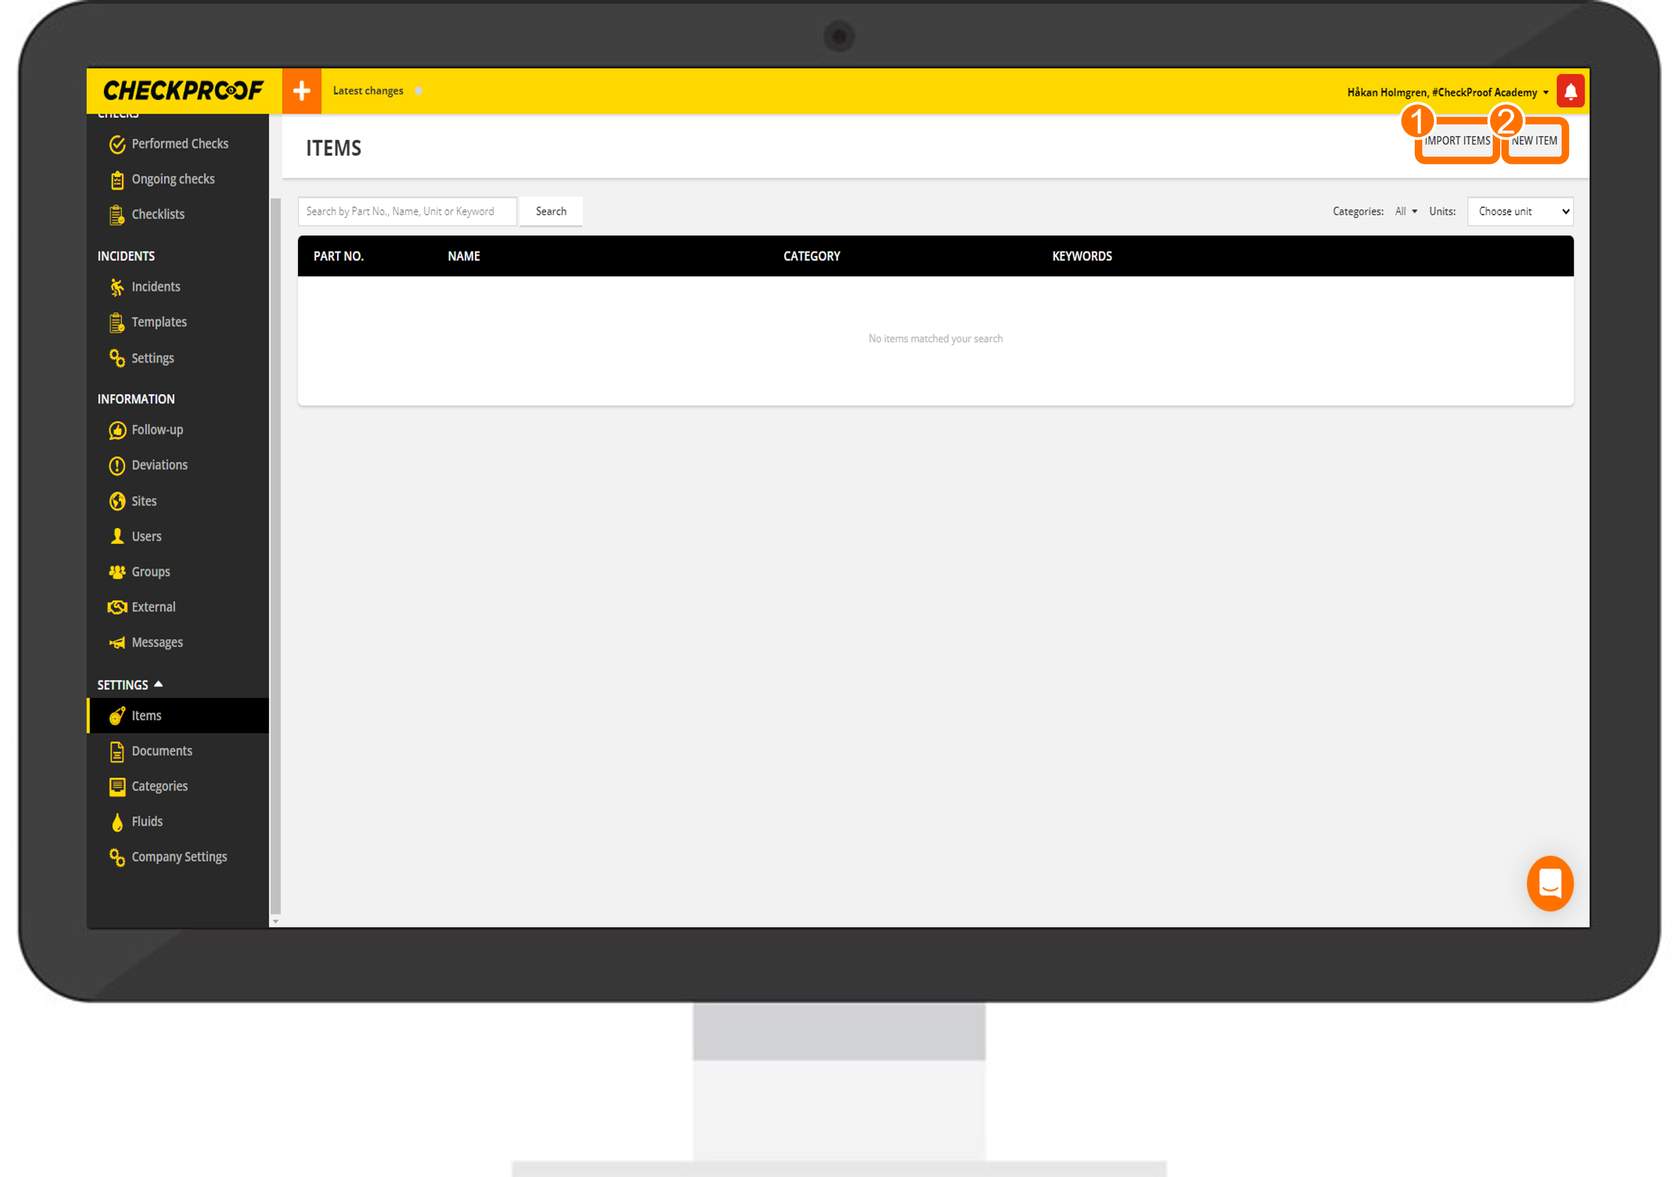
Click the “Import Items” button at the top-right of your screen.
Click the “Import Items” button at the top-right of your screen.
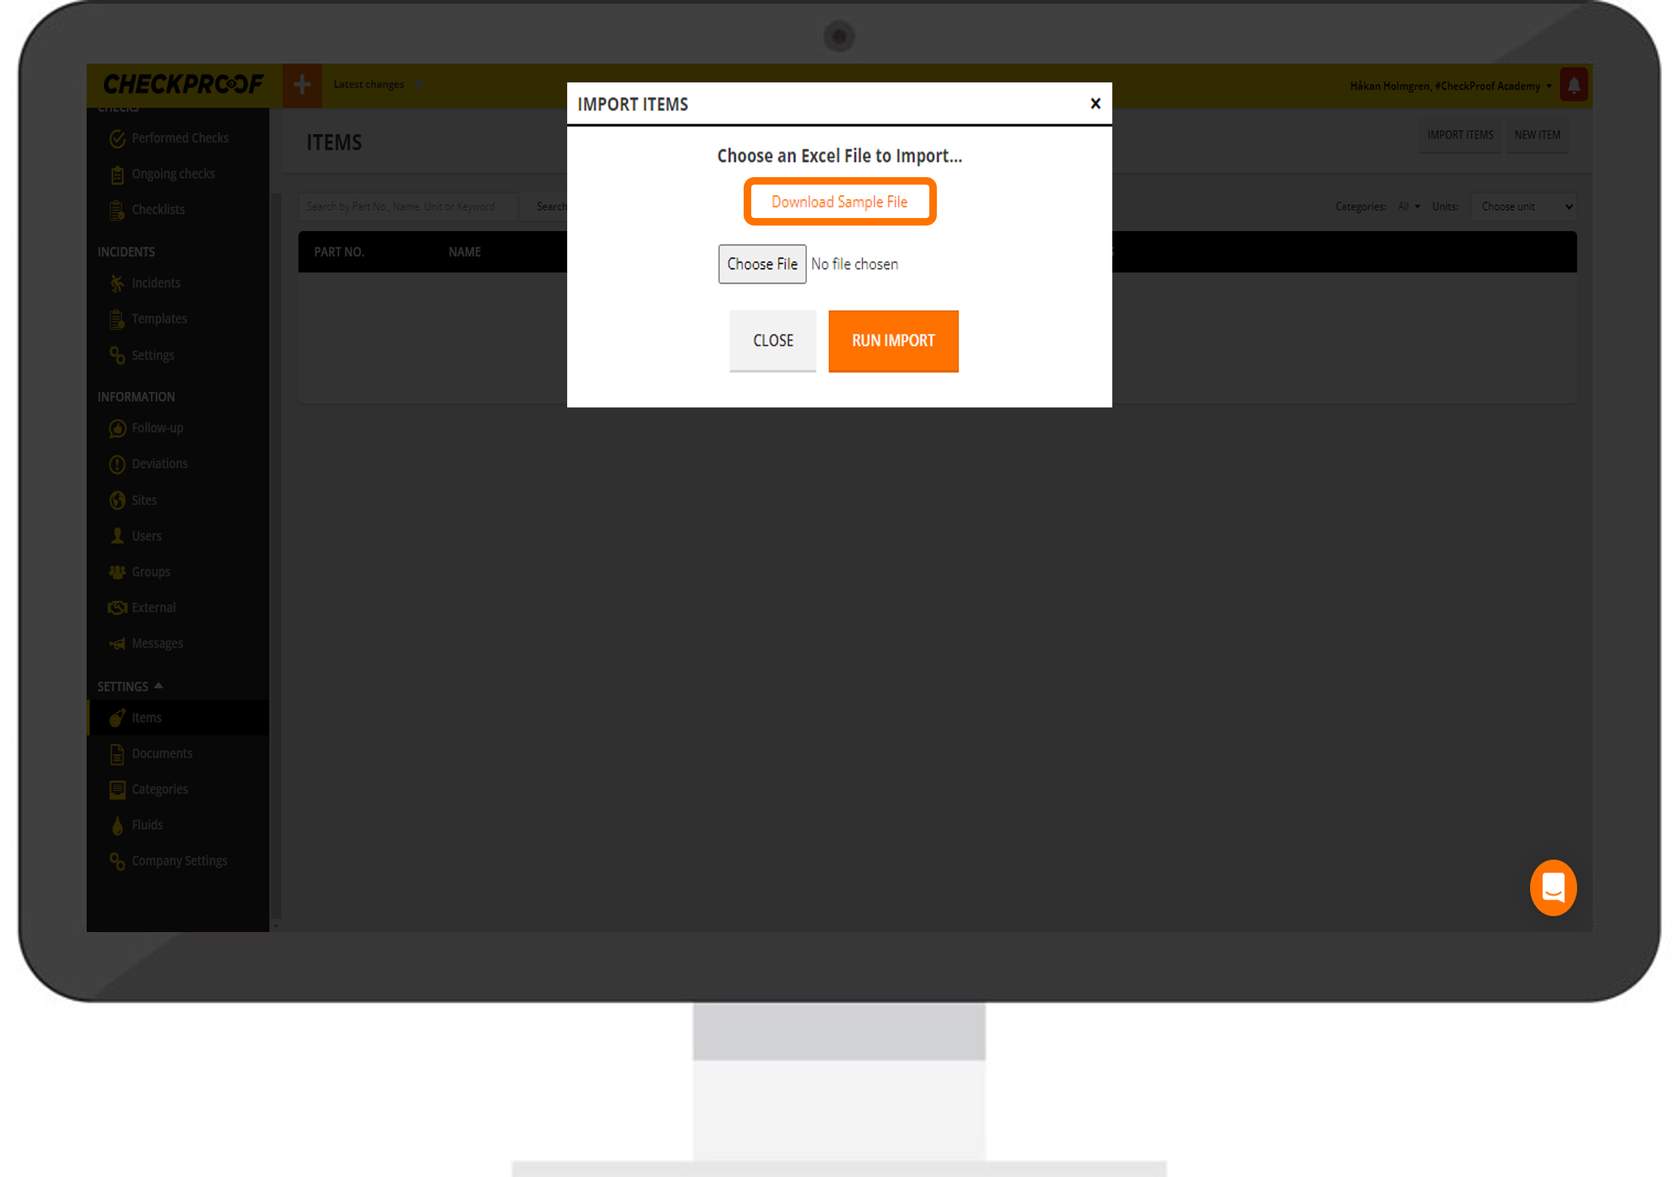
This is where you can enter your item data.
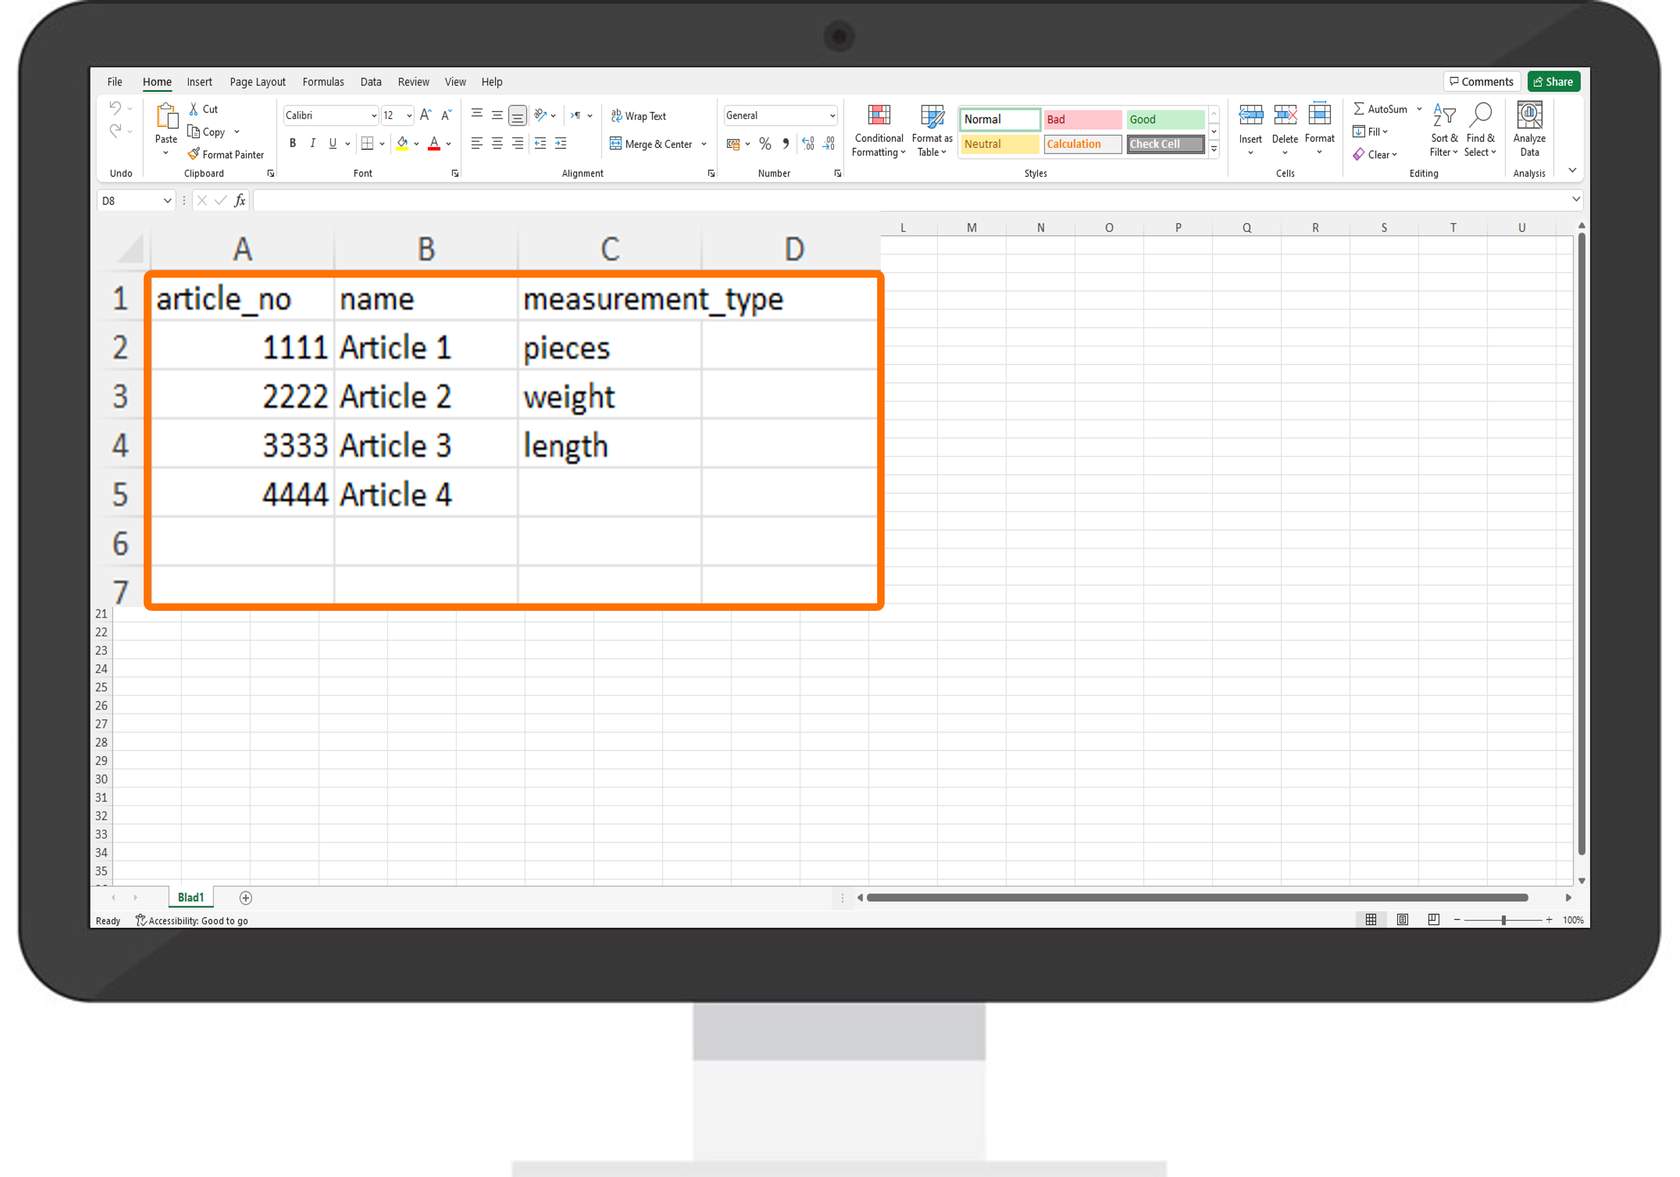
- In the first column you need to enter an article number.
- In the second column you need to give the item a name.
- In the third column you need to enter a measurement type.
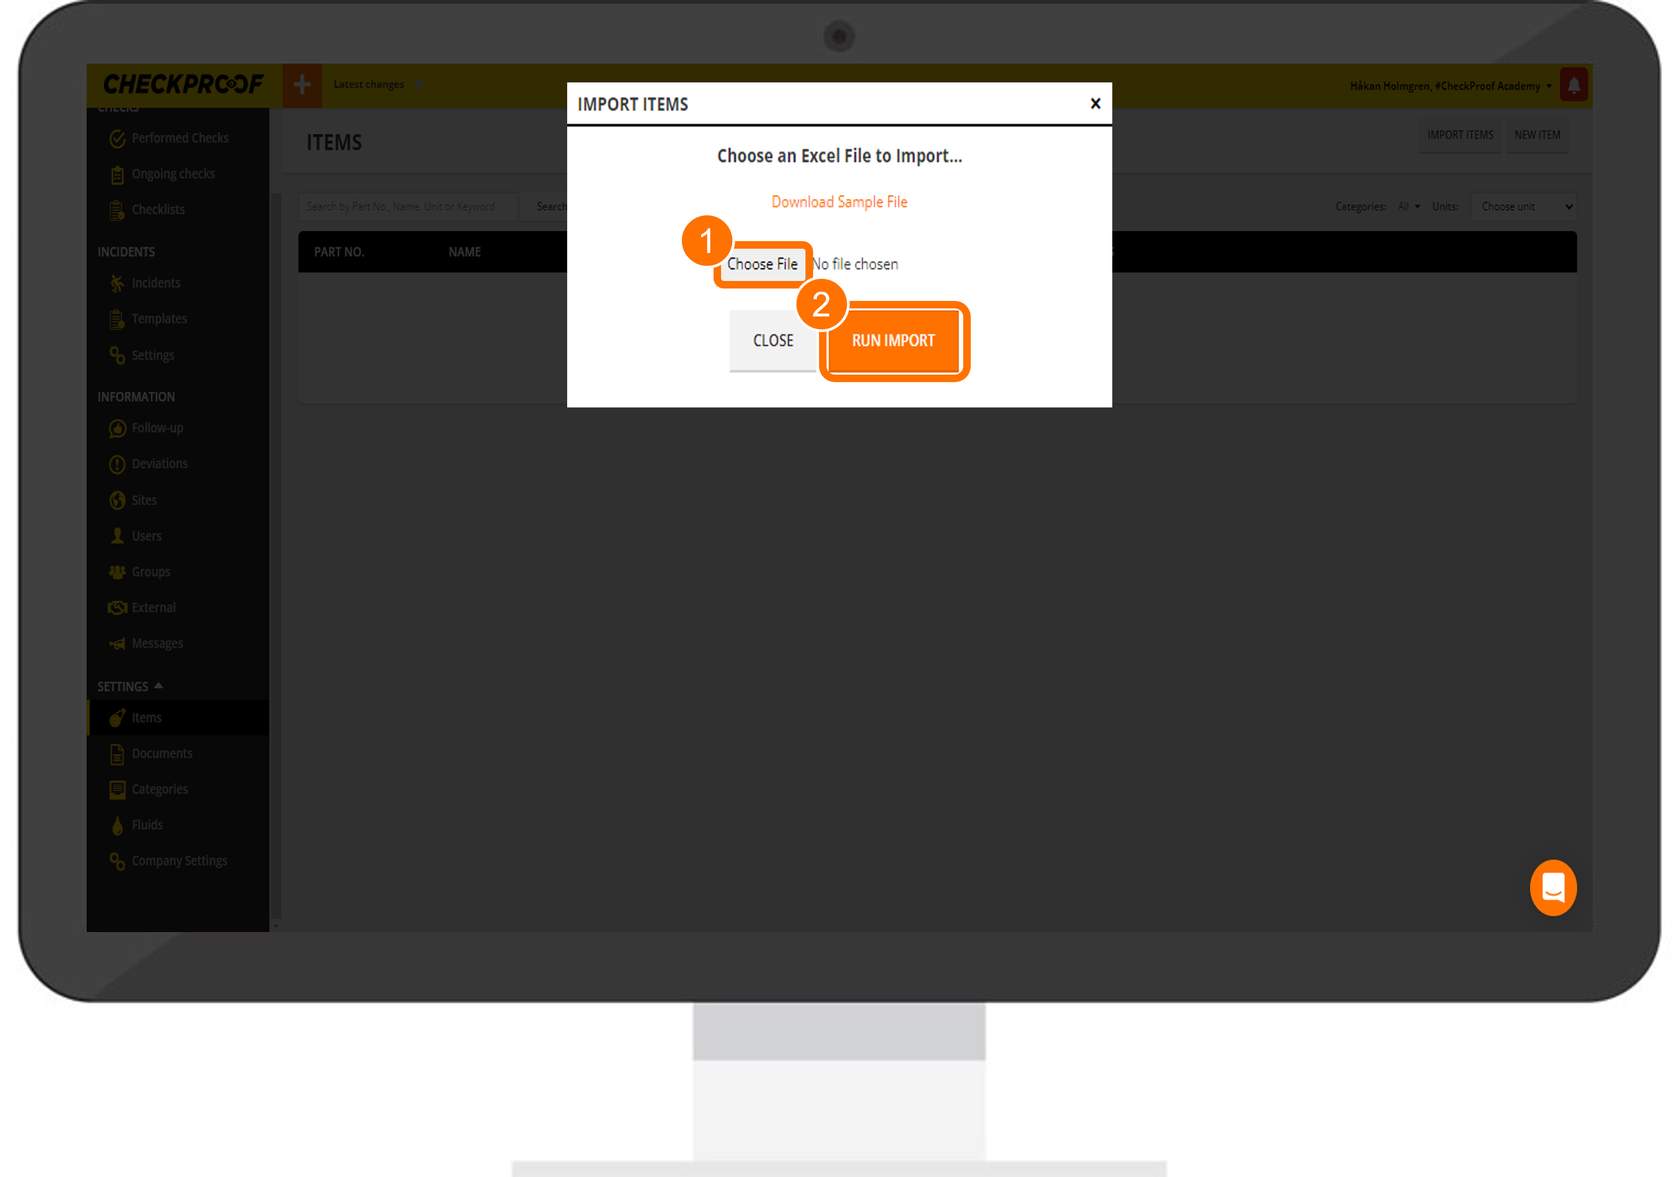
Navigate back to CheckProof once you have saved your Excel spreadsheet. Click the “Choose File” button, select the file from your device, and then click the “Run Import” button.
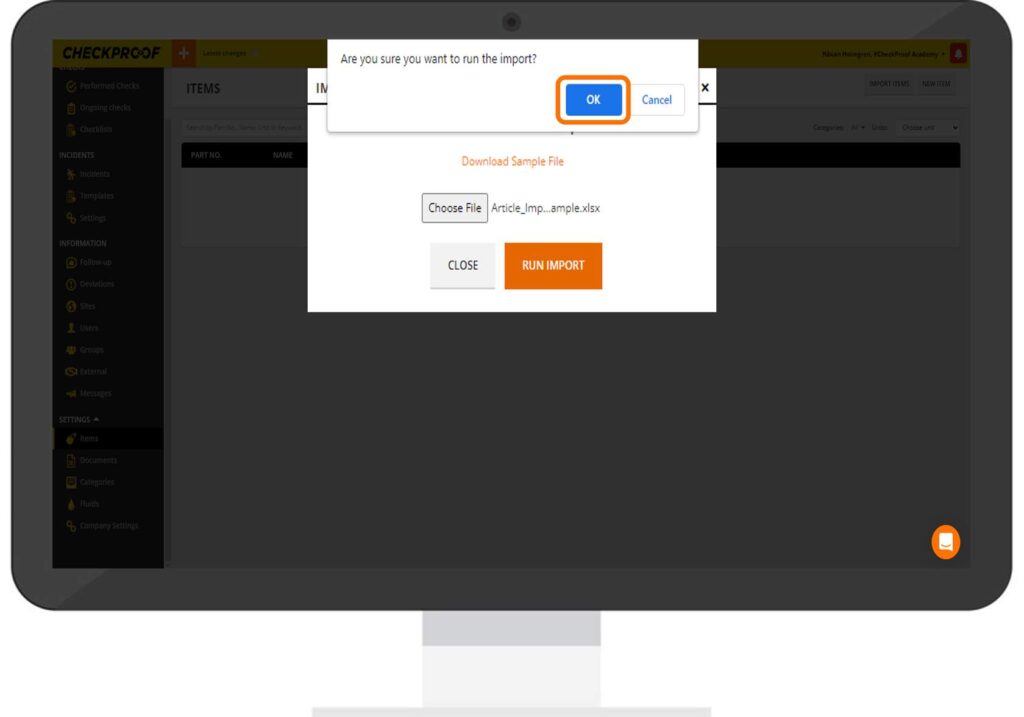
You will now be prompted to confirm that you want to run the import. Click the “OK” button to run it.
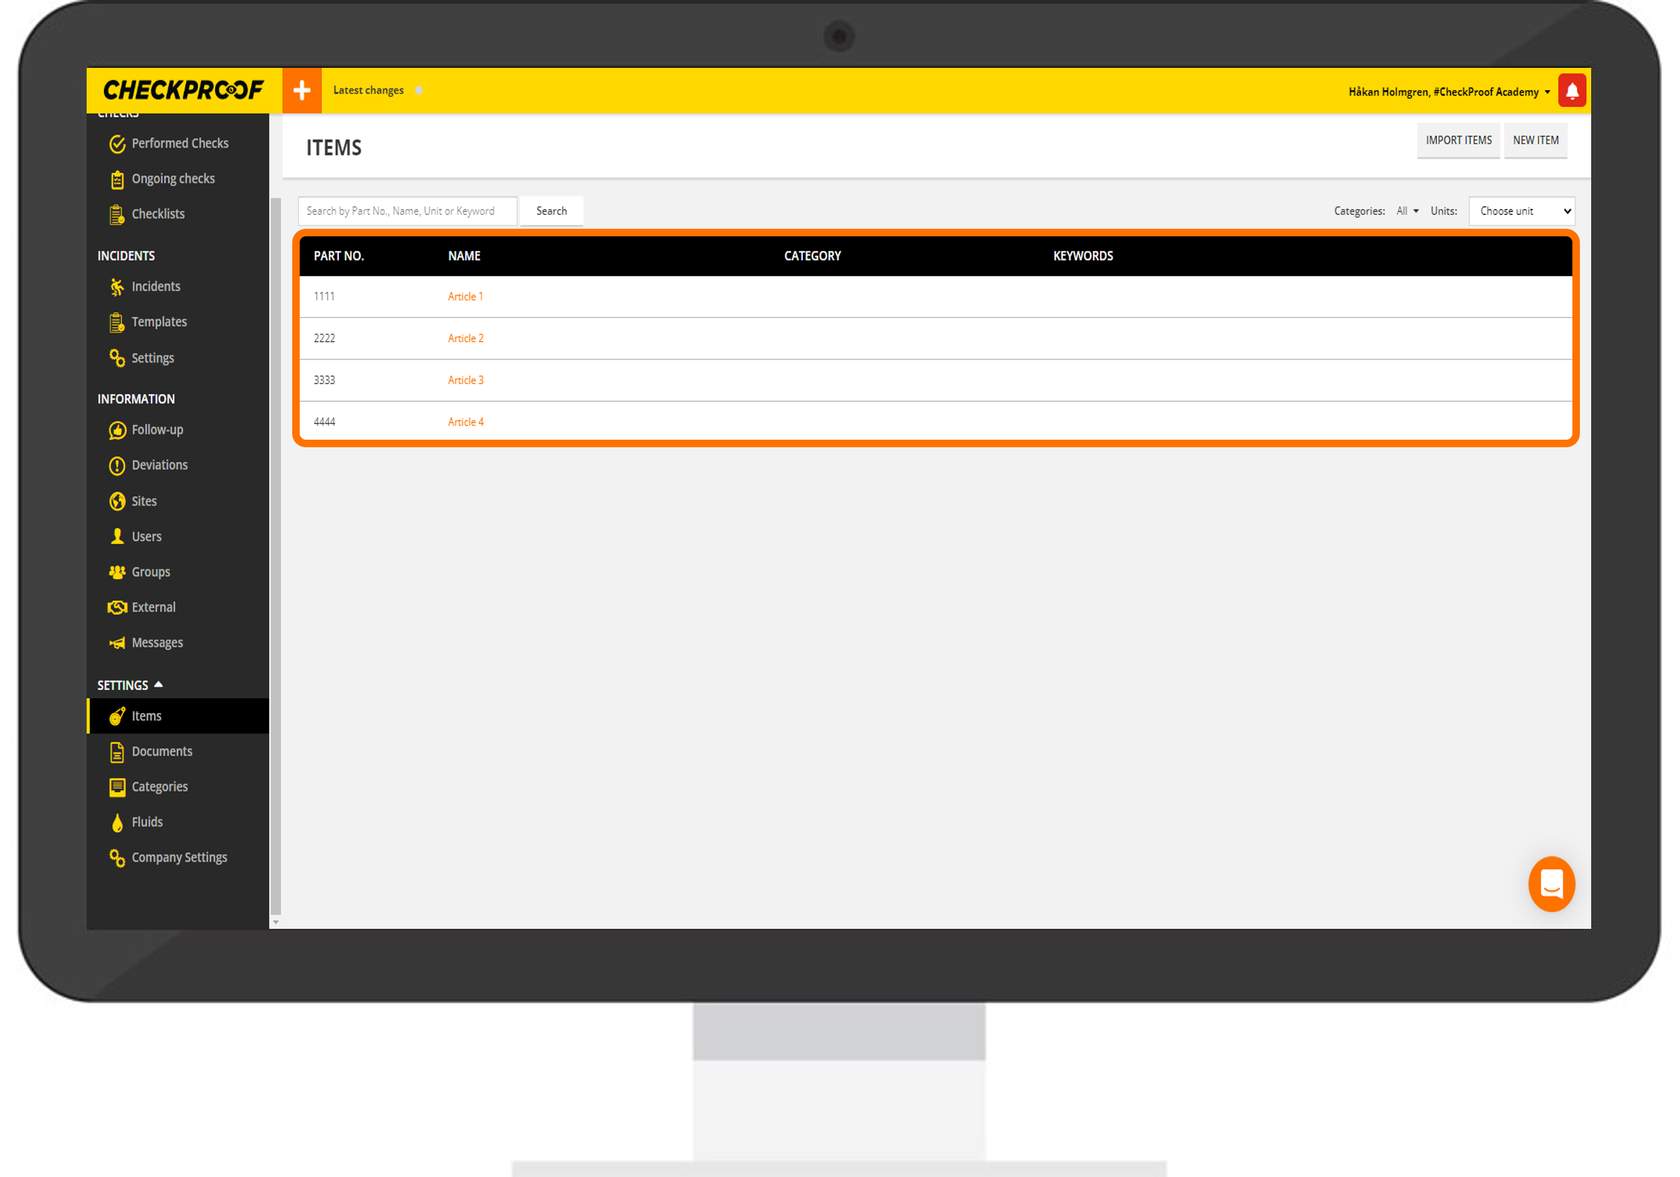
Great! Your items have been successfully imported to CheckProof.
Adding New Items Manually

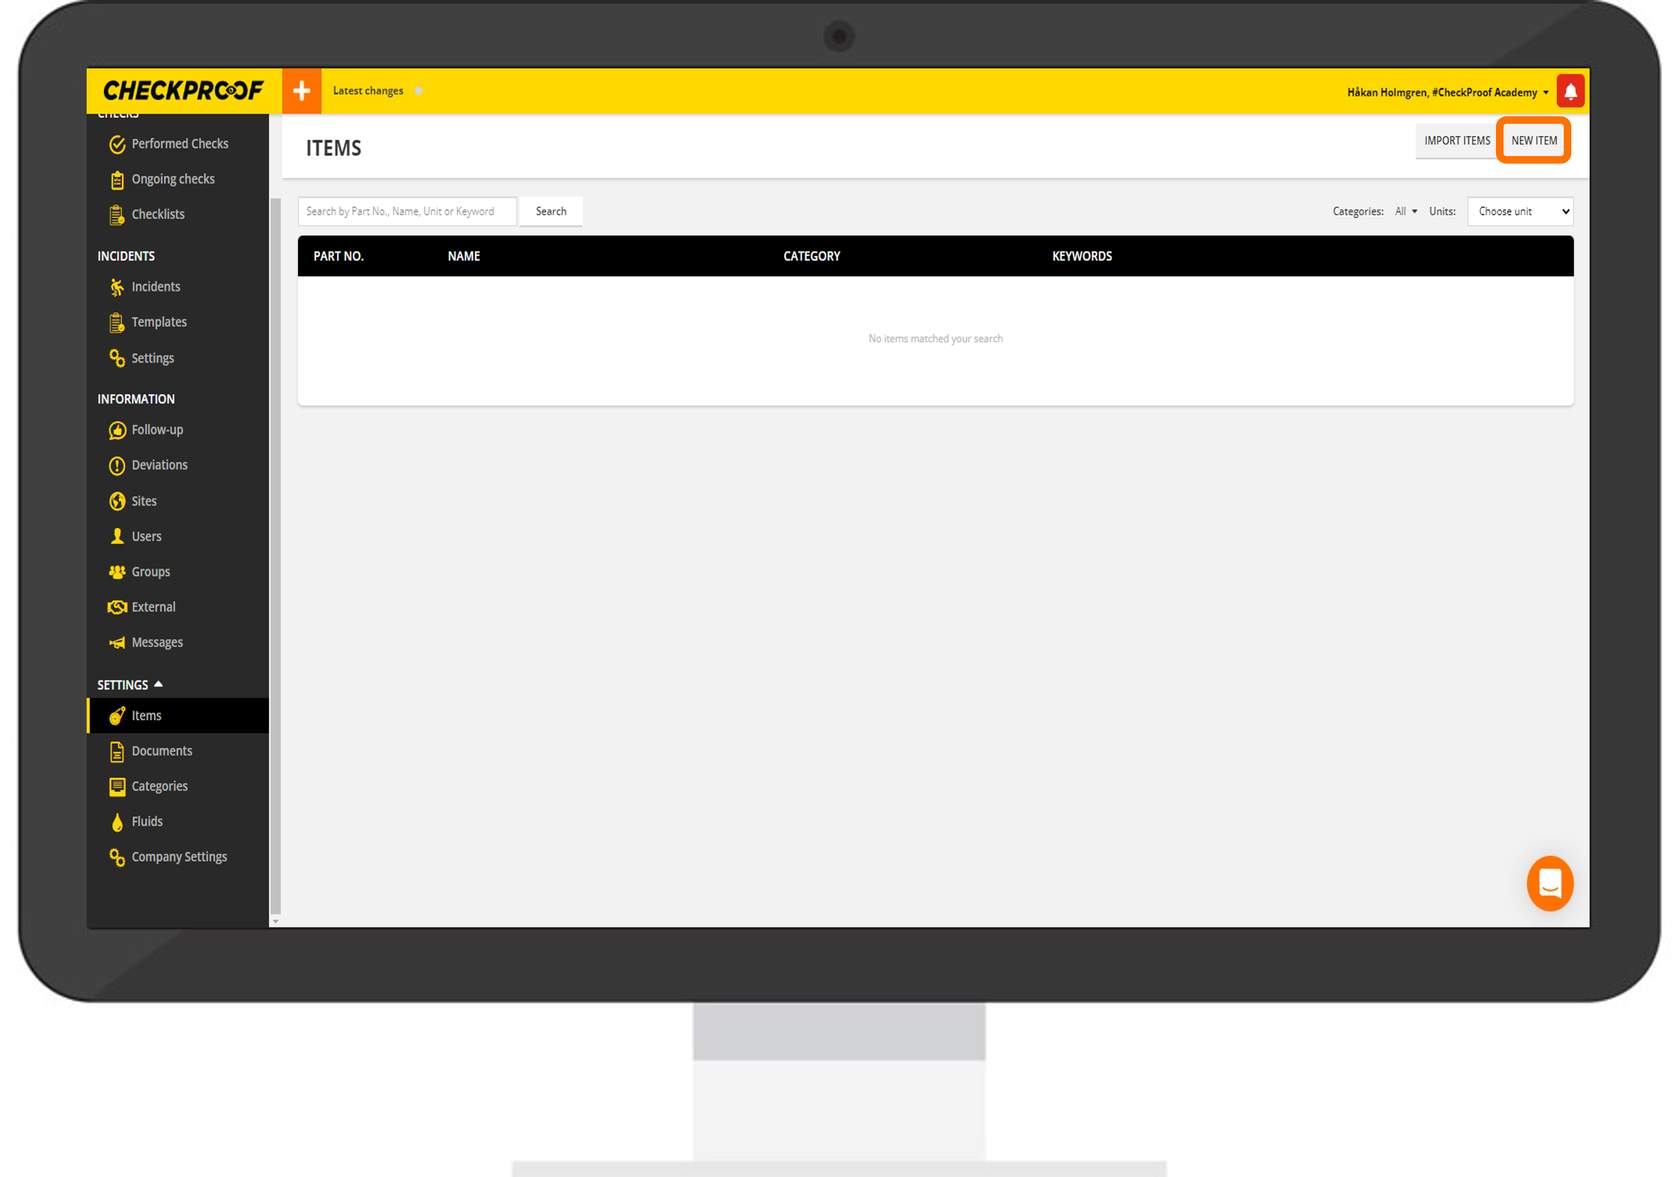
Click the “New Item” button at the top-left corner of the screen.
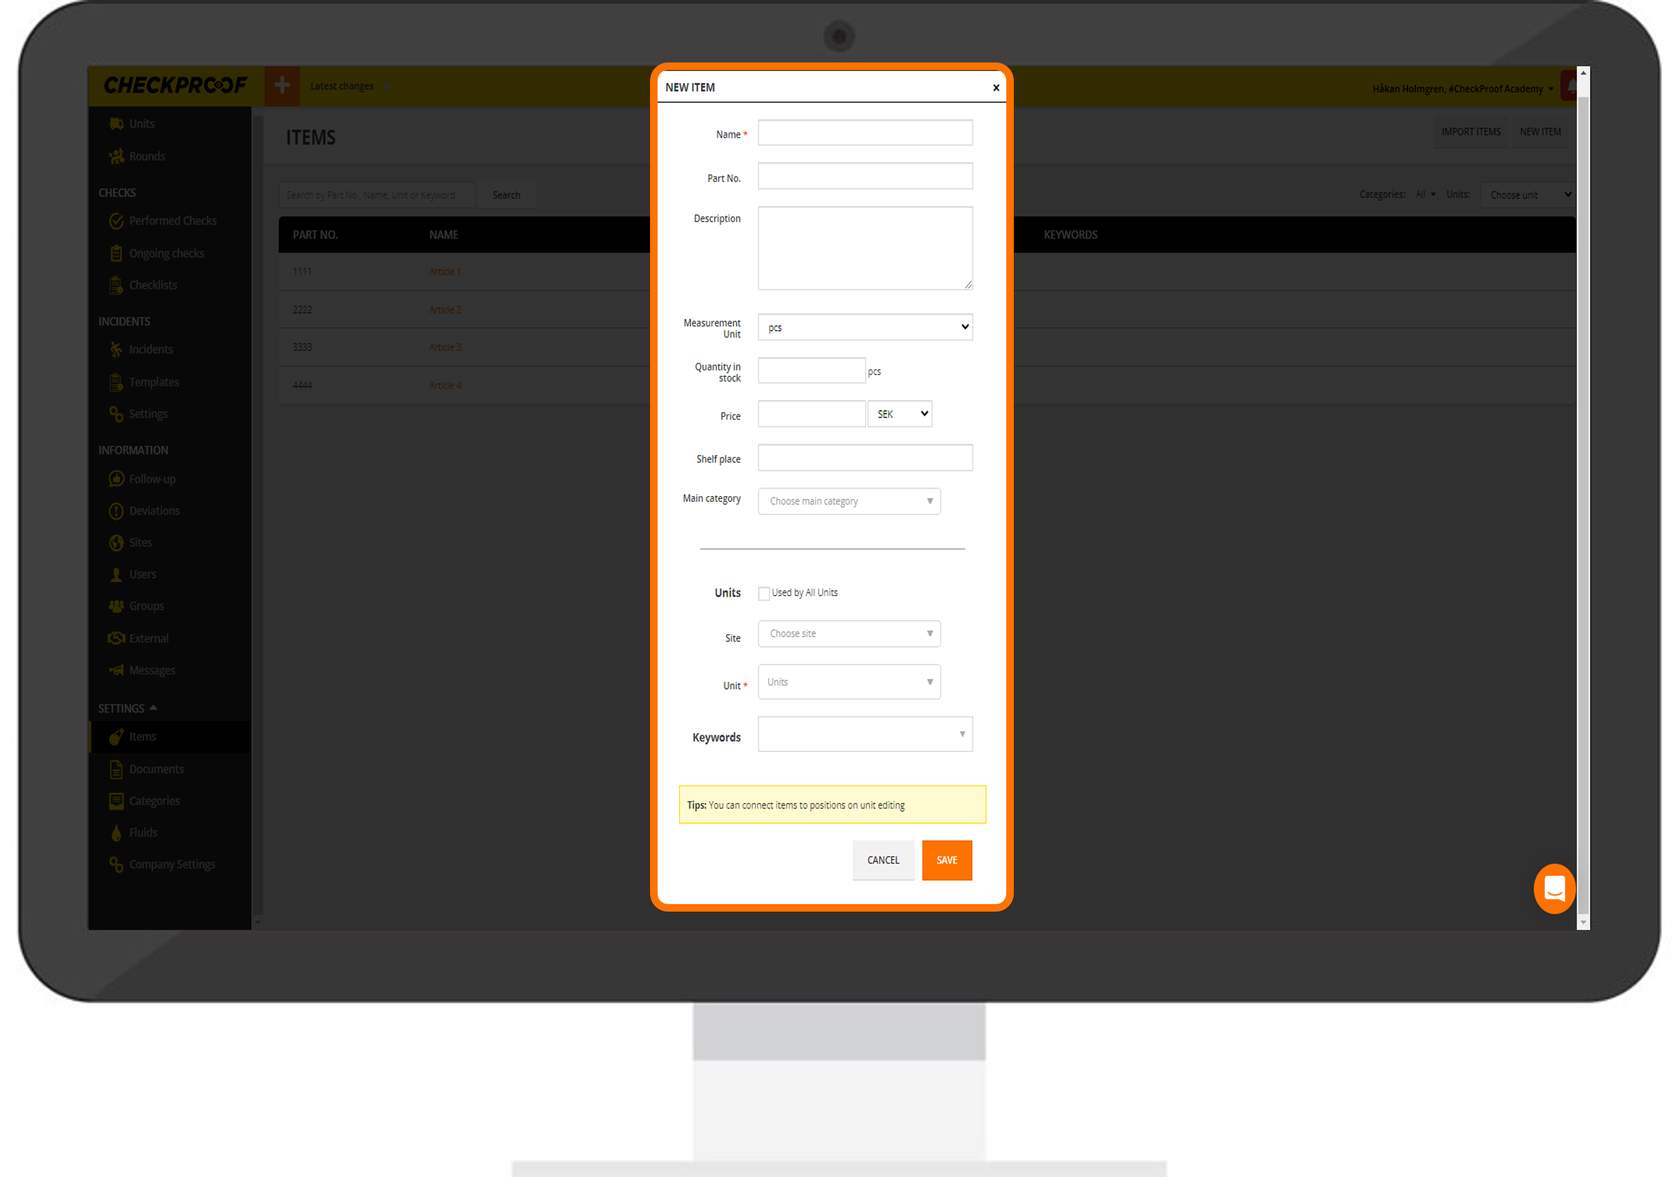
This will open the “New Item” window with a form for you to complete.
Here you need to manually enter the item data. The fields with an asterisk (“Name” and “Unit”) are mandatory.
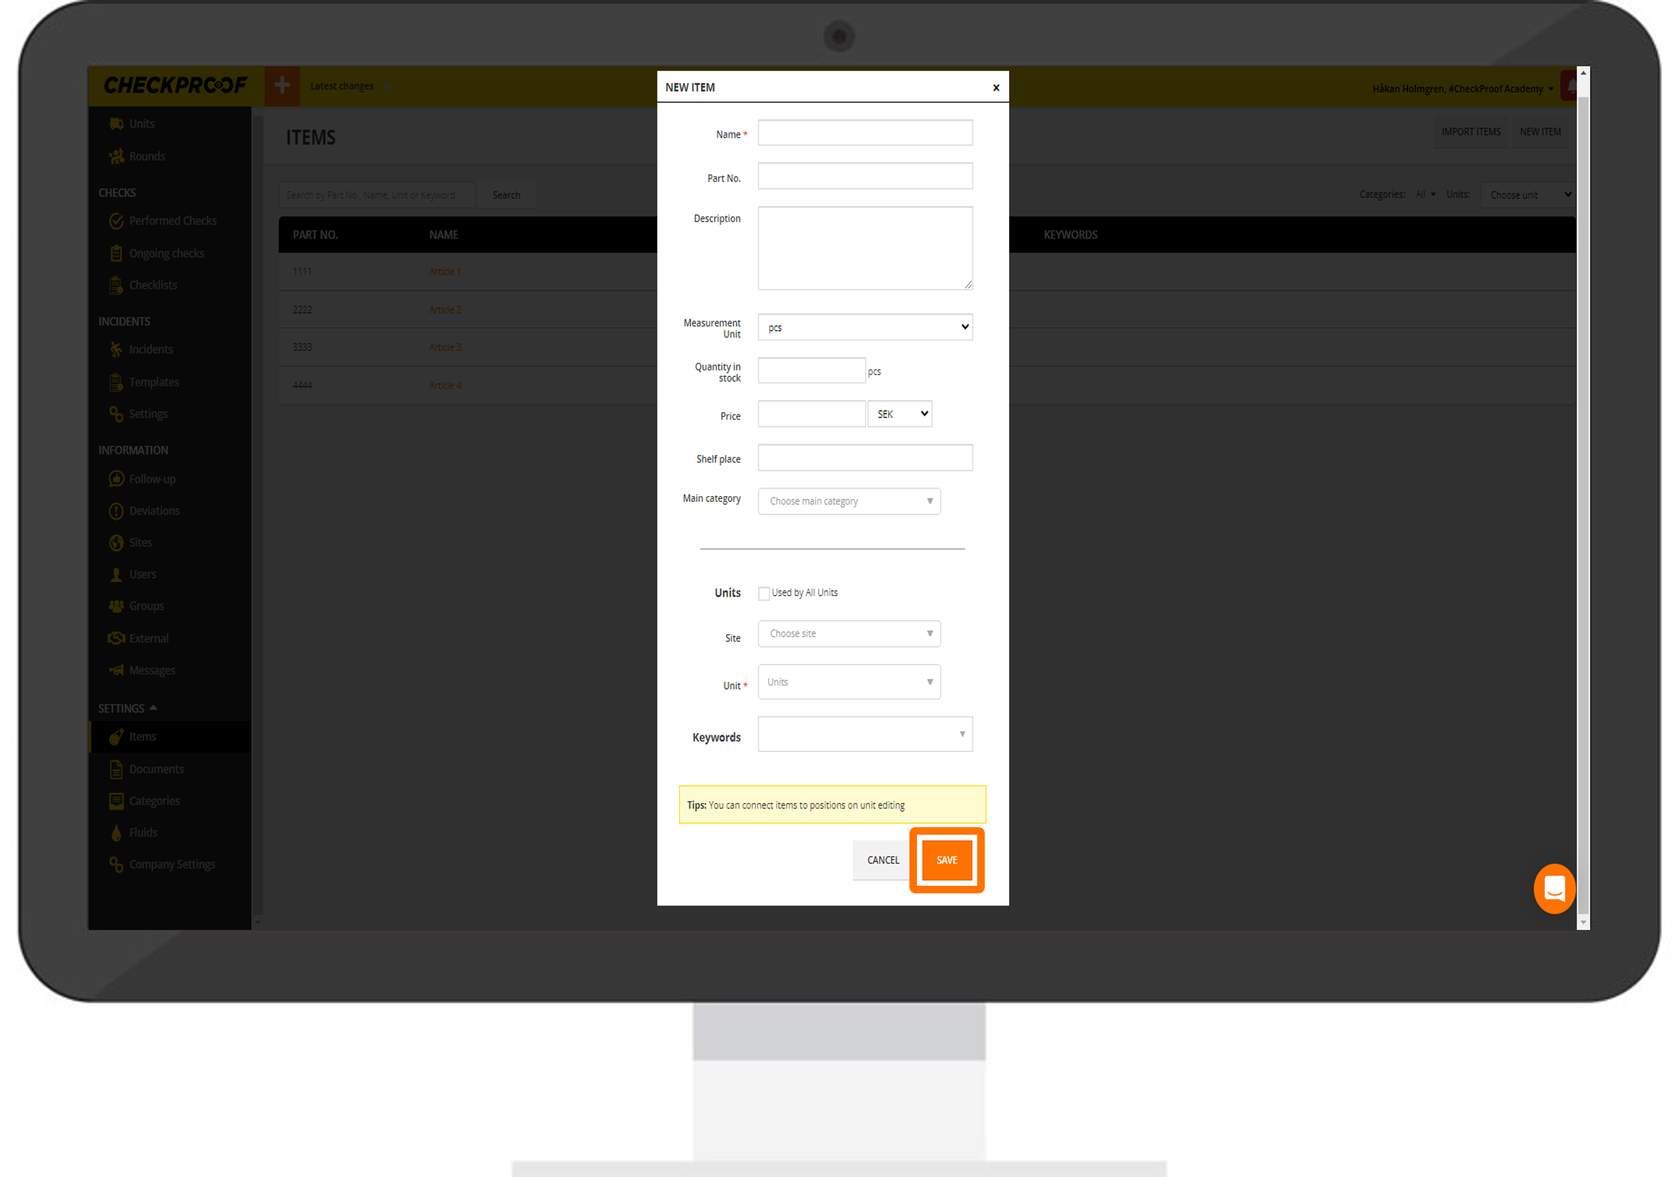
When you have finished entering the information, click the “Save” button.
Great! Now you know how to manually add an item.

Great! Now you know how to manage items from the Admin Panel.